Today, I will share with you the five steps of manual soldering of PCB circuit boards. The specific steps are as follows:
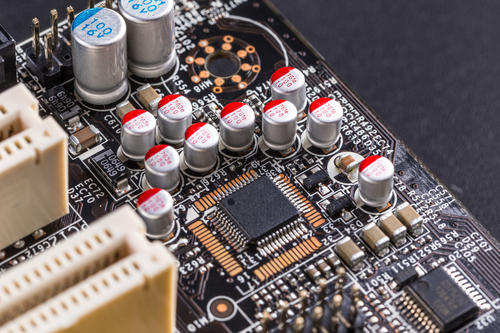
1. Preparation for soldering: preparations before soldering include cleaning treatment of soldering parts, component installation and preparation of solder, flux and tools. Hold the solder wire in the left hand and the electric soldering iron in the right hand (the soldering iron head should be kept clean and the soldering head should be kept in a soldering state at any time).
2. Heating weldments: It should be noted that the entire weldment should be heated to be evenly heated.
3. Feeding the welding wire: After heating the welding piece to reach a certain temperature, the welding wire soldering iron contacts the welding piece from the opposite side.
4. Remove the welding wire: When the welding wire melts a certain amount, immediately remove the welding wire.
5. Remove the soldering iron: After soldering the solder pad or the welding part of the weldment, remove the soldering iron.
Manual PCB soldering is very simple for engineers who often solder, but it may be difficult for people who have not soldered, especially if the soldering is wrong, If you want to remove it, it will be more troublesome. When you encounter some PCBs with poor quality, the chance of the pad falling off is very high.
General inquiries & Customer Service
Tel: 86-755-2335 9039 | Fax: 86-755-3318 0939
E-Mail: Enquiry@atechcircuit.com
Skype: atechcircuits

Headquarters: 602, Building B3, Zhimei Huizhi Industrial Park, Fuyong Street, Bao'an District, Shenzhen City, China
Copyright © 2025 A-TECH CIRCUITS Co., Ltd. | All Rights Reserved
Hello, please leave your name and email here before chat online so that we won't miss your message and contact you smoothly.